
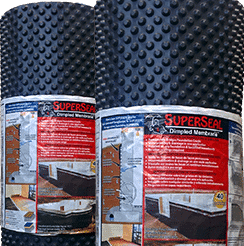
DIMPLED FOUNDATION MEMBRANE
The contractor’s choice for one reason: it works
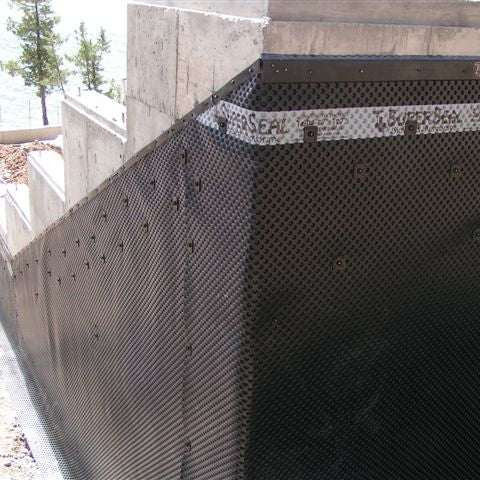
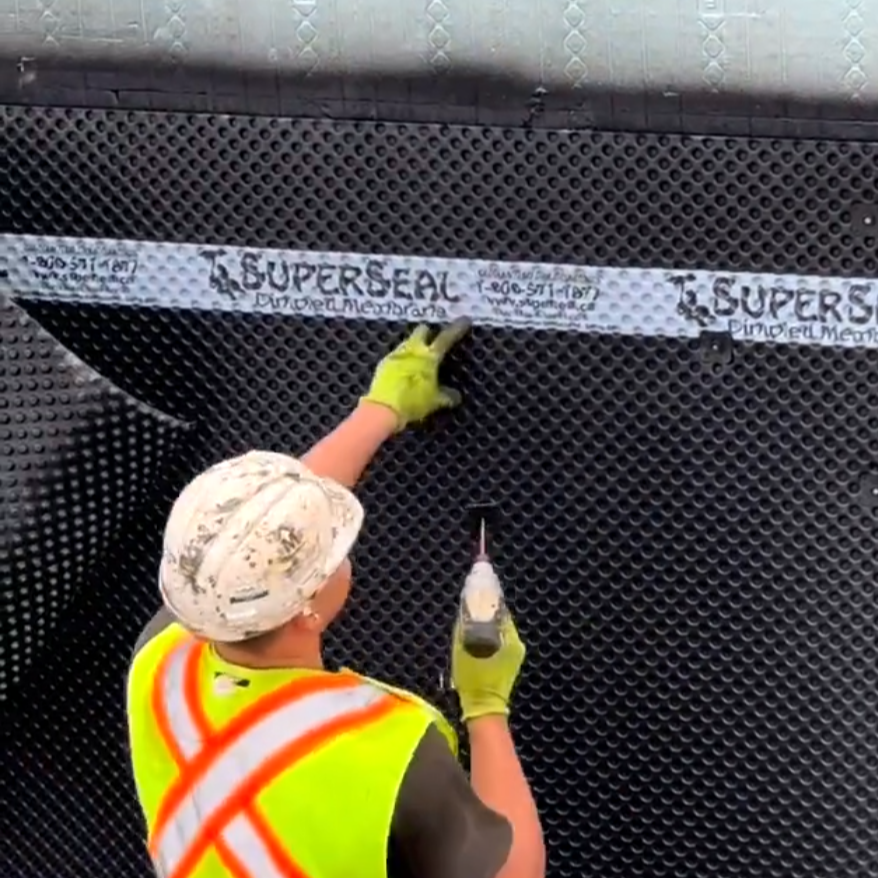
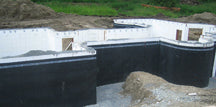
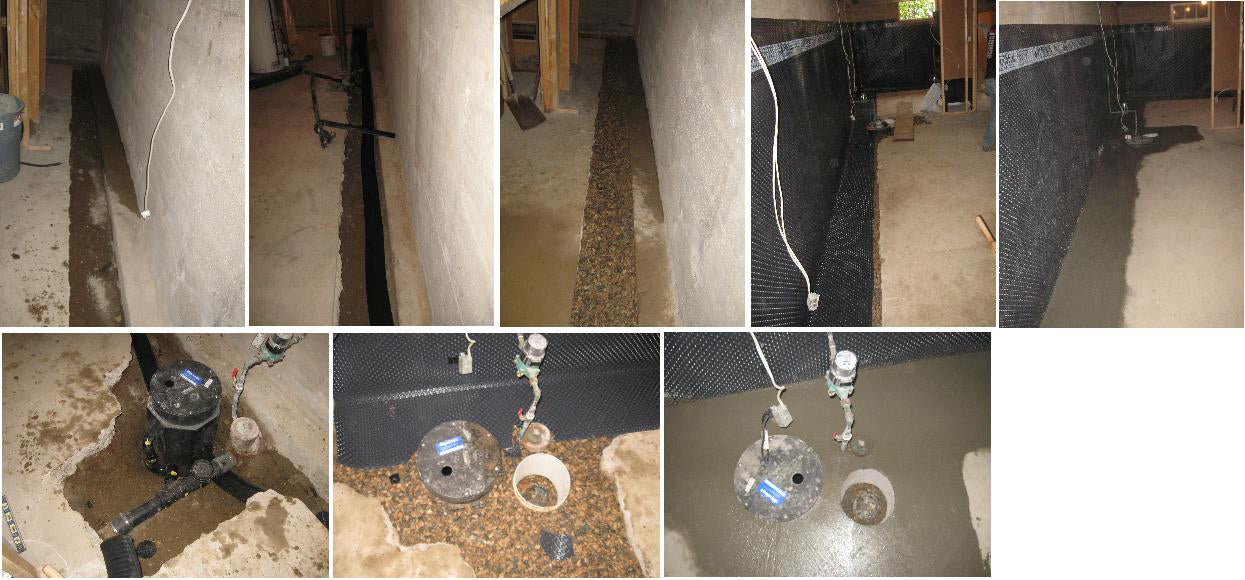
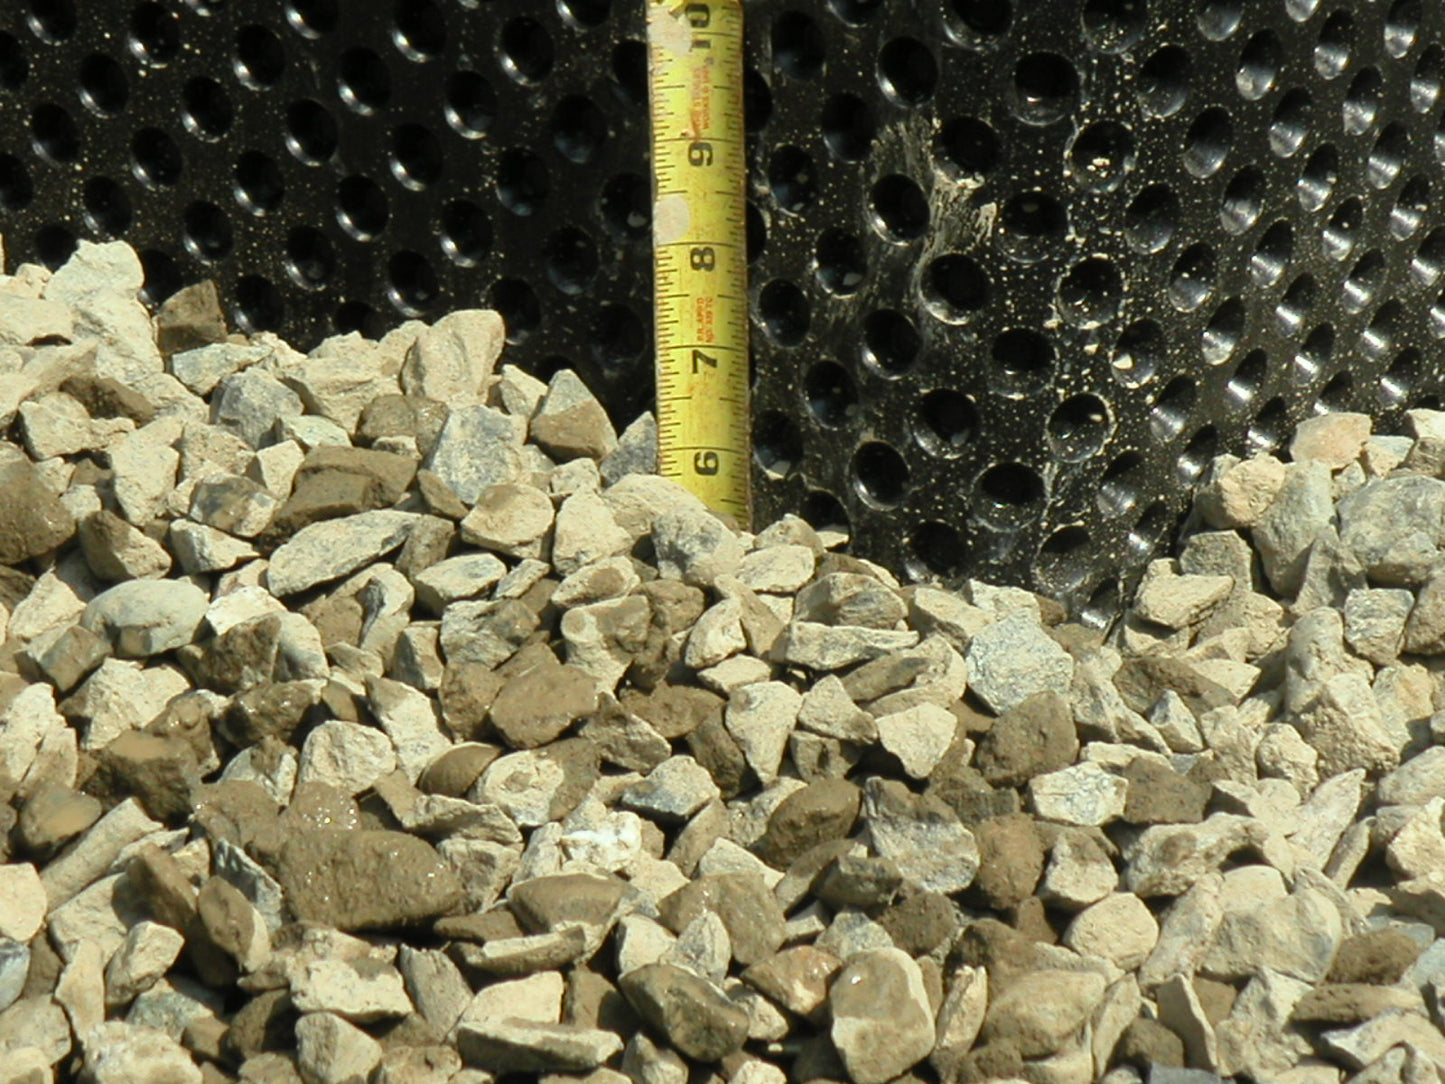
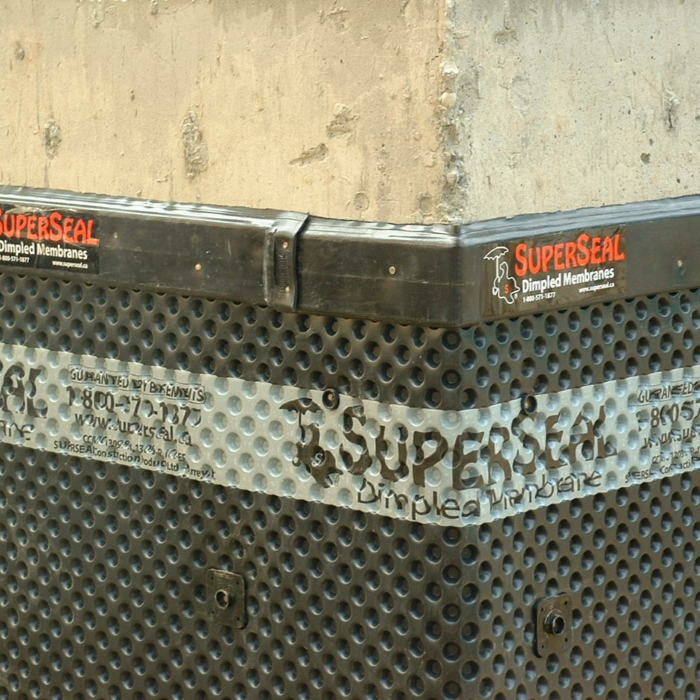
SUPERSEAL Dimpled Membrane – Foundation Waterproofing & Drainage Protection
SUPERSEAL Dimpled Membrane is a High-Performance HDPE barrier engineered to keep basements bone dry for decades. It's tested to meet and exceed building codes for residential and commercial applications and is backed by approvals from ICC (U.S.A.) and CCMC (Canada)

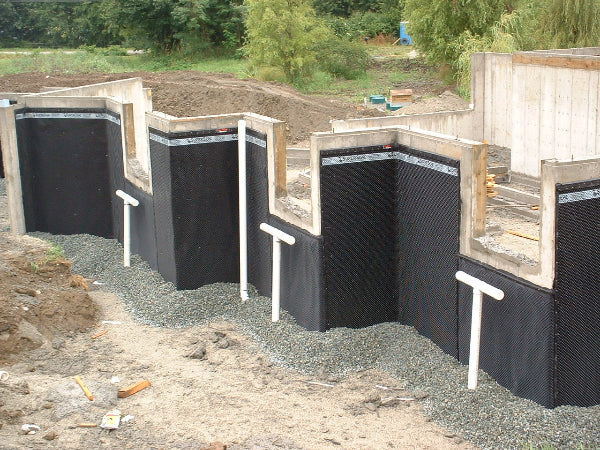
- Ultimate Versatility: One solution for any foundation, inside or out.
- Precision Fit: Available in 8 custom heights (up to 9'11) to eliminate waste and speed up installation.
- The HDPE Advantage: Mechanically fastened, high-density protection that won't rot, crack, or fail.


-
DIMPLEGRIP MOLDING
Regular price $45.11 CADRegular priceUnit price per -
MEMBRANE CAP MOLDING
Regular price $21.95 CADRegular priceUnit price per -
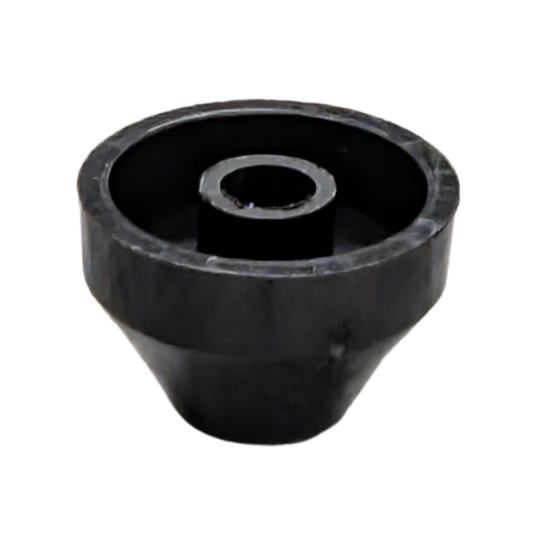
SUPER PLUGS
Regular price From $15.59 CADRegular priceUnit price perSUPER PLUGS
Regular price From $15.59 CADRegular priceUnit price perSUPER PLUGS
Regular price From $15.59 CADRegular priceUnit price per -
SMALL PLUGS
Regular price From $11.02 CADRegular priceUnit price perSMALL PLUGS
Regular price From $11.02 CADRegular priceUnit price perSMALL PLUGS
Regular price From $11.02 CADRegular priceUnit price per -
Waterproofing - Roller Grade
Regular price $169.99 CADRegular priceUnit price per -
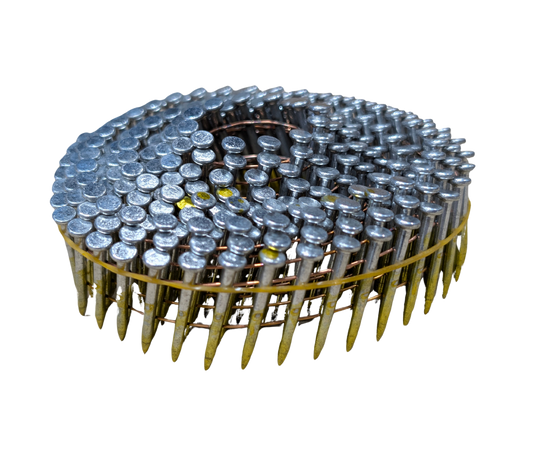
SUPERSEAL Concrete Nails
Regular price From $20.00 CADRegular priceUnit price perSUPERSEAL Concrete Nails
Regular price From $20.00 CADRegular priceUnit price perSUPERSEAL Concrete Nails
Regular price From $20.00 CADRegular priceUnit price per -
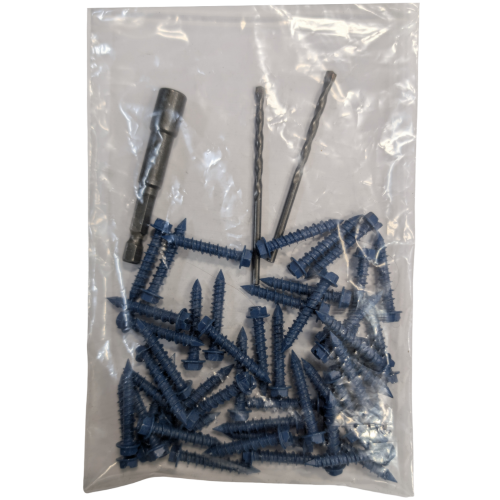
Concrete Screws
Regular price $24.99 CADRegular priceUnit price per


TYPICAL FOUNDATION INSTALLATION


PRODUCT SPECIFICATIONS & APPROVALS
